
It's almost Christmas, so time for my final Christmas table favour of the series! This time I've taken inspiration from a very similar origami box I've seen, but this one doesn't use origami!
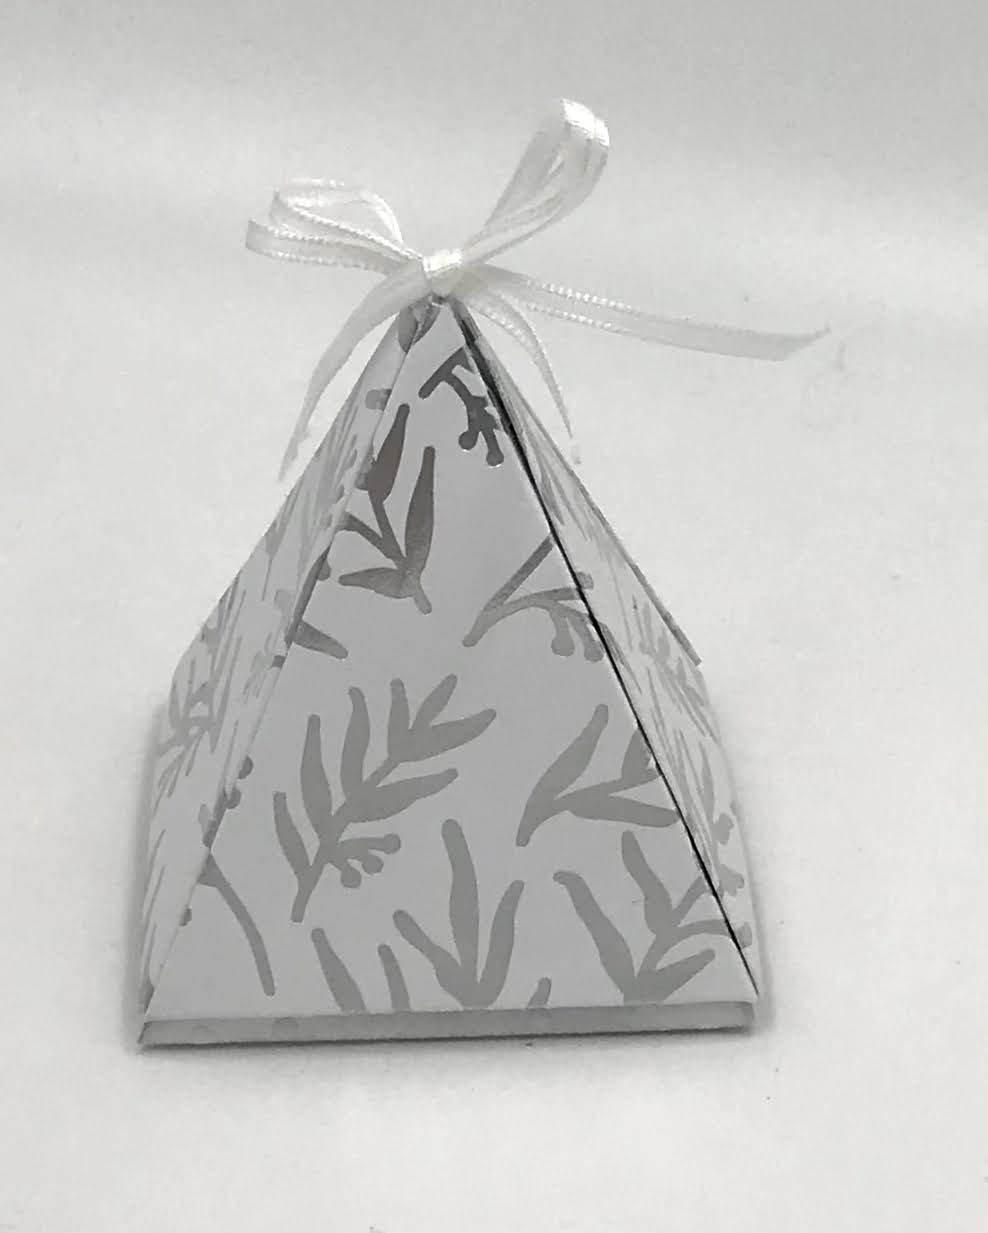
It's a 2 part box - a small sloping sided box to put some goodies in, and a pyramid lid. I designed the box & then realised that it was the perfect size for the larger tree from the In the Pines stamps, so I've stamped & heat embossed one on each side.
If you prefer, you could make it out of DSP, as it just takes 2 pieces of 6" x 6" paper. I've also made some from the lovely Feels Like Frost papers, although in the example below, I used more strands of ribbon!

Hope you like it!
Thanks for stopping by
Jane x
Instructions:
Base
6”x 6” paper
On all 4 sides, Score @ 7/8”, 1 3/4” & mark @ 2 1/2”, 3 1/2”
Score lines from each corner of the centre square to each of the 2 closest marks. as in 1st diagram below

Remove sections as in 2nd diagram.

Adhere tabs, noting that the slides should slope in.
Fold over & adhere 2 adjacent flaps
Position approx 15-18” twine or ribbon so that the centre is between the 2 flaps that haven’t been glued down.
Fold over & adhere the flaps so that ribbon is held under the flaps, with the loose ends coming out of 2 opposite corners.
LID
Score on wrong side @ 3”. Turn 90° & repeat.
Turn to right side & mark @ 1 3/4”, 4 1/4” on all 4 sides
Score across the corners from mark to mark as in 1st diagram.

Now score lines across from each end of each of those score lines to the opposite end of the score line diagonally opposite, as in the 2nd diagram.

No comments:
Post a Comment